§1 What is the polarizing microscope
Polarizing microscopes are used to detect birefringent substances, such as fibers, spindles, collagen, chromosomes, etc.
The difference from ordinary microscopes is that there is a polarizing plate (polarizer) in front of the light source, so that the light entering the microscope is polarized light, and there is an analyzer (a polarizer with a polarization direction perpendicular to the polarizer) in the lens barrel. The stage of this kind of microscope can be rotated. When a single refractive substance is placed on the stage, no matter how the stage is rotated, because the two polarizers are vertical, no light can be seen in the microscope. When birefringent materials are introduced, the object is detected by rotating the stage because light is deflected as it passes through the material.
Any substance with birefringence can be clearly distinguished under a polarizing microscope. Of course, these substances can also be observed by staining, but for some it is impossible and a polarizing microscope must be used.
§2 What is the structure of a polarizing microscope?
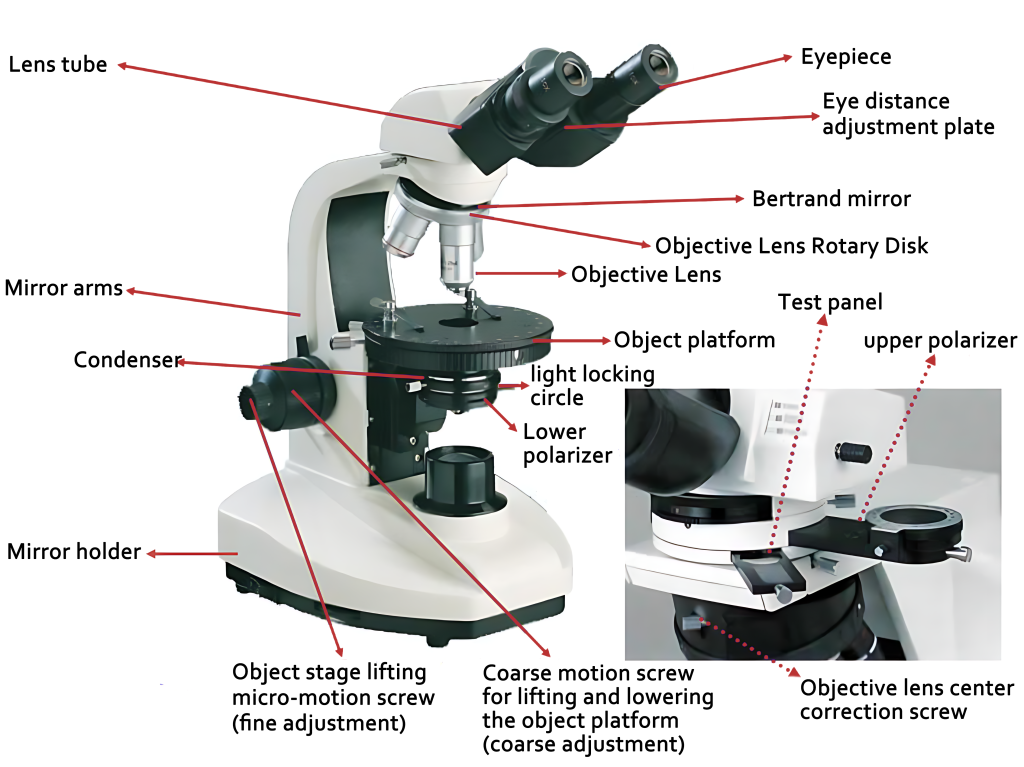
A polarizing microscope is equipped with two polarizers. The polarizer installed under the stage is called the lower polarizer (polarizer), and the polarizer installed in the barrel above the objective lens is called the upper polarizer (analyzer).
Normally, the vibration planes (vibration directions) of the polarized light transmitted from both are perpendicular to each other.
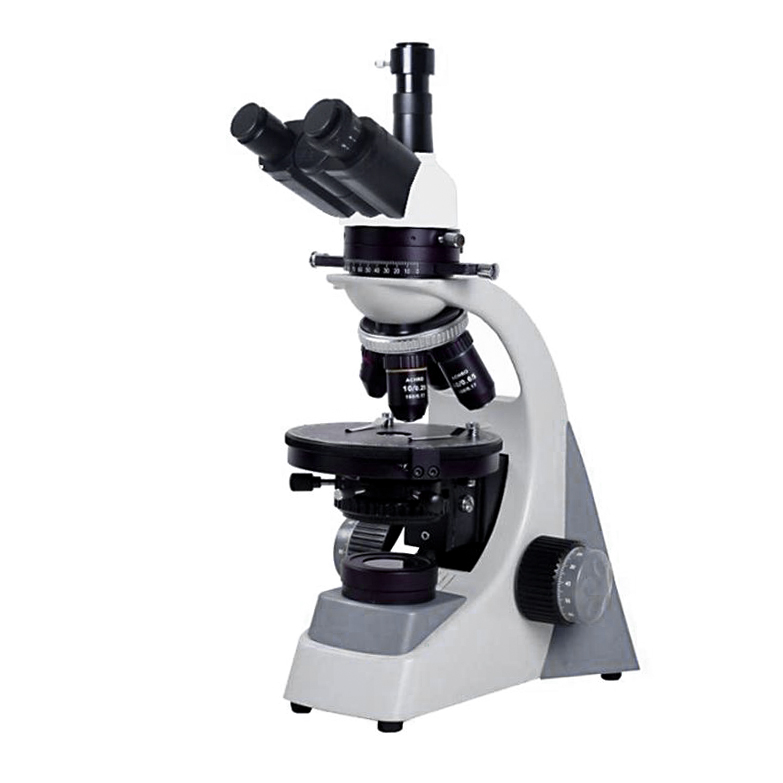
1. Mechanical system components
Mirror base, mirror arm, stage, lens tube.
2. Optical system components
The light source, lower polarizer, locking aperture, condenser, objective lens, upper polarizer, eyepiece, Bertrand lens.
3. Accessories
- ① Quartz wedge, gypsum test board, mica test board, etc.;
- ② Mechanical table, object table micro ruler, etc.
§3 Adjustment of polarizing microscope
1. Attaching and unloading the lens
- ① Loading and unloading the eyepiece: Insert the selected eyepiece into the lens barrel, and make the eyepiece crosshairs located in the east-west and north-south directions. The binocular tube also needs to adjust the distance between the two eyepieces so that the distance between the eyes is consistent with the binocular field of view.
- ② Loading and unloading the objective lens (turntable type): Install the objective lens on the objective lens rotating disc at the lower end of the lens barrel, and then rotate the required objective lens to just below the lens barrel until the spring is stuck.
2. Adjust lighting (aiming)
In the process of adjusting the lighting, first put the voltage adjustment knob in the low voltage direction, then turn on the power switch, and then adjust the voltage knob to increase the brightness of the viewing area to the appropriate brightness.
3. Adjust focus (accurate focus)
- ① Place a thin slice on the stage (note that the cover glass must face upward).
- ②Look at the objective lens from the side, turn the coarse screw to raise the stage to the highest position (be careful not to crush the sheet).
- ③ Observe through the eyepiece and turn the coarse screw at the same time to lower the stage. When an object just appears in the field of view, use the fine screw for fine adjustment.
- ④Switch to a high-magnification objective lens and adjust the focal length in the same way.
§4 Calibration and adjustment of polarizing microscope
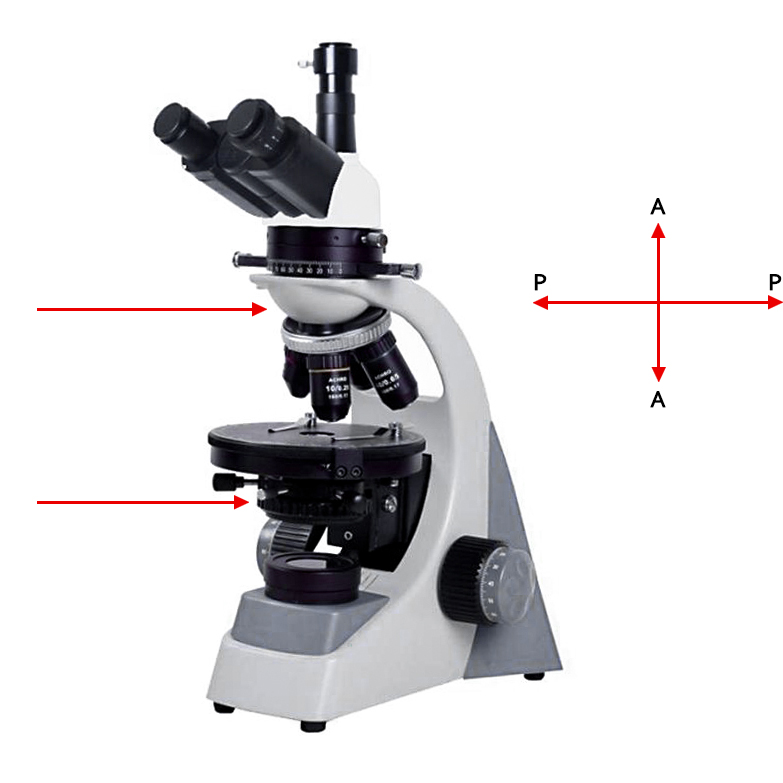
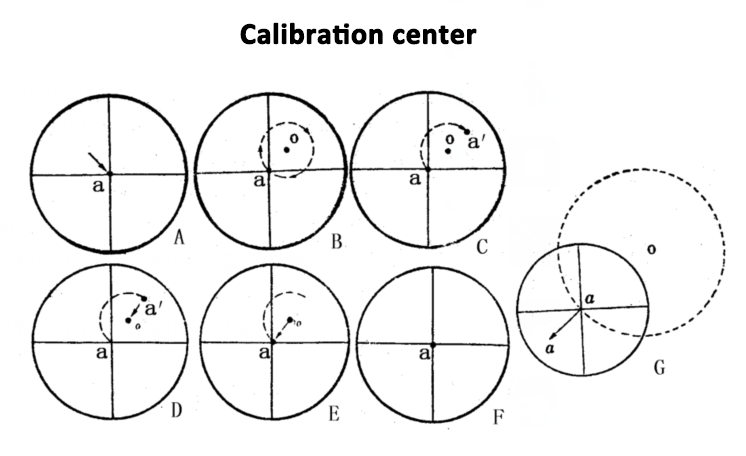
1. Calibration center
2. Correction of polarizer
(1) Determination and correction of the vibration direction of the lower polarizer
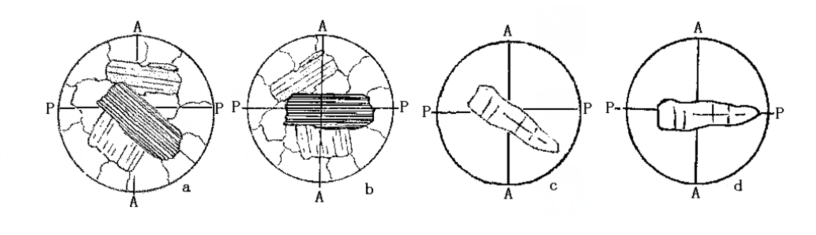
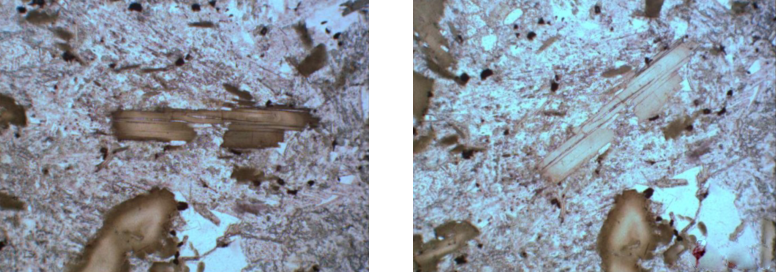
- ① Select a biotite with a set of extremely complete cleavage seams in a thin slice and place it in the center of the field of view.
- ② The rotating object stage makes the biotite color the deepest. At this time, the direction of the biotite cleavage seam represents the vibration direction of the lower polarizer.
- ③ If the direction of the biotite cleavage seam is parallel to the cross wire, the lower polarizer is in the correct position;
- ④ If it is not parallel, rotate the animal stage so that the direction of the biotite cleavage seams is parallel to the cross hairs, and rotate the lower polarizer until the color of the biotite becomes the deepest. At this time, the vibration direction of the lower polarizer is in the east-west direction.
(2) Check whether the vibration directions of the upper and lower polarizers are orthogonal
- ① Use a medium magnification objective lens and adjust the lighting to make the field of view the brightest. Push in the upper polarizer. If the field of view is dark, it proves that the vibration directions of the upper and lower polarizers are perpendicular to each other (orthogonal).
- ② If the field of view is not dark, it means that the vibration directions of the upper and lower polarizers are not orthogonal.
- ③ If the vibration direction of the lower polarizer has been corrected to the east-west direction, you need to correct the vibration direction of the upper polarizer. At this time, you need to rotate the upper polarizer until the field of view is dark.