Scanning Electron Microscopy (SEM) is one of the more popular imaging techniques in the life sciences because of the beautiful and informative micrographs you can get from it.
However, as with most experiments, your data will only be as good as your sample.
In this article, we describe 6 essential SEM sample preparation points to maximize the chances of successful SEM imaging.
Learn more about how an electron microscope works and what it’s used for.
How Scanning Electron Microscopes Work
Reference article: “Electron Microscope Principle, Structure and Advantages and Disadvantages“
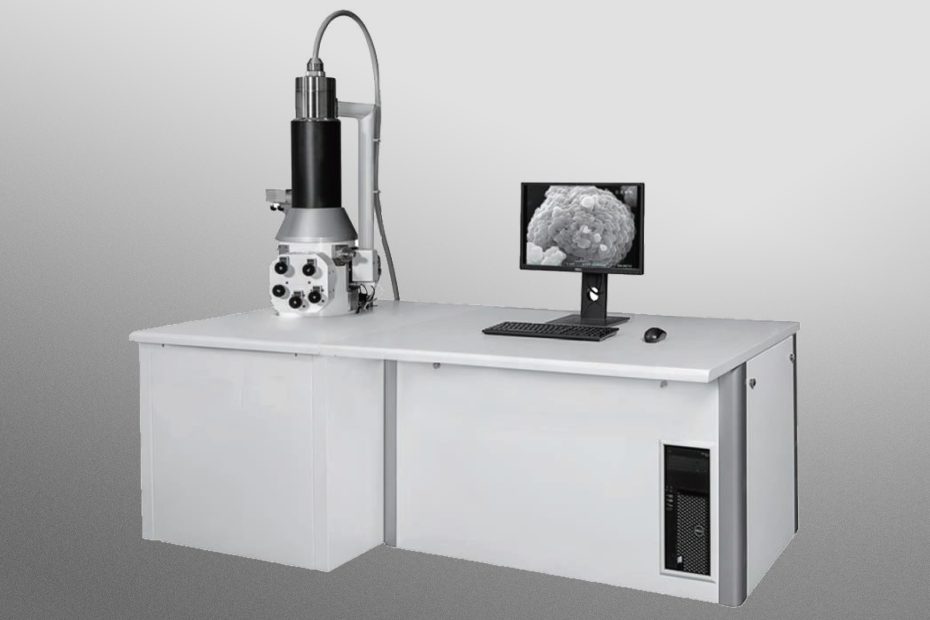
An electron gun on top of the microscope directs the stream of electrons vertically onto a set of electromagnetic lenses inside the vacuum chamber.
Typically, scanning electron microscopes are equipped with one of the following electron guns:
1. Thermionic gun: use a filament (composed of tungsten or LaB6) to heat to generate electron flow.
2. Field emission guns: These generate a strong electric field in order to eject electrons from atoms.
The lenses are placed in a vacuum chamber to avoid clogging and contamination by other particles. Lenses help direct electrons to the sample. The electronic signal is then converted into a digitally constructed three-dimensional image of the sample.
Notes on Conductivity and Sputter Coating
Because non-conductive materials “collect” electrons at the surface of the sample, electron microscopy samples, or the surface of the sample, need to be conductive.
This buildup of charge can lead to image artifacts, therefore, metal samples require no additional preparation due to their inherent ability to conduct electricity.
However, non-metallic samples need to be coated with a conductive coating (usually gold or gold-palladium) during SEM sample preparation to make them compatible with SEM.
Usually, a thin layer of gold will suffice. The conductive material is deposited onto the sample using an instrument called a sputter coater.
With all of this in place, let’s move on to scanning electron microscopy sample preparation.
Scanning Electron Microscopy Sample Preparation: 6 Essentials
The advantage of the scanning electron microscope is that it can directly observe the very rough sample surface and the original fracture of the undulating material.
But its disadvantage is that the sample must be observed in a vacuum environment, so there are some special requirements for the sample, generally speaking: dry, oil-free, and conductive.
With scanning electron microscopy, you need to consider the size, shape, state and conductive properties of your sample before imaging.
Ideally, the smallest representative sample size should be used.
Fixation and dehydration are important for preparing SEM samples.
The current example for scanning electron microscopy does not slice into thin sections, as scanning electron microscopy results in the surface of a three-dimensional object.
Scanning electron microscope samples coated with a thin layer of metal. The metal coating makes the sample conductive. Without a metal coating, many samples accumulate electrons, which can lead to “charging artifacts.” Gives a false impression of what the sample looks like.
The detection capability of the microscope can reach the range of 1 μm from the sample surface. Therefore, please consider all of the following factors:
1. Sample cleaning
A clean sample is critical for image clarity. For biological samples, clean the sample with an appropriate buffer or distilled water. If samples require more aggressive cleaning, use a surfactant.
If the biological properties of the sample are known, you may be able to clean with proteolytic enzymes. To remove oil from the sample surface, wash with an appropriate solvent. Additionally, you can use an ultrasonic bath to clean your samples.
Please be careful as the ultrasonic bath is very corrosive and may cause physical damage to your samples.
2. Sample Fixation and Dehydration
Use fixatives such as glutaraldehyde or osmium vapor to preserve the structural details of the sample.
Note: If the fixative is prepared using phosphate-buffered saline, salt deposits may interfere with the image quality of the sample.
For dehydration, use a graded series of alcohols and complete the final dehydration step with 100% alcohol or acetone.
3. Dry
Before a sample is placed in a high vacuum environment, it must be completely dry. Otherwise, water vaporization will block the electron beam and reduce the sharpness of the photomicrograph.
When working with biological samples, pay attention to critical point drying (CPD) so as not to compromise the structural integrity of the sample. The right CPD instrument can help make this happen.
Alternatively, you can try freeze-drying. Freeze drying caused the least amount of sample shrinkage compared to air drying or CPD. However, freeze-drying runs the risk of ice crystals forming in the sample.
4. Sample Preparation of Tissue Sections
To visualize the details of the tissue section, remove the epoxy using organic solvents, ion beam etching, or plasma etching. You can also break the sample in the appropriate orientation to reveal its internal details.
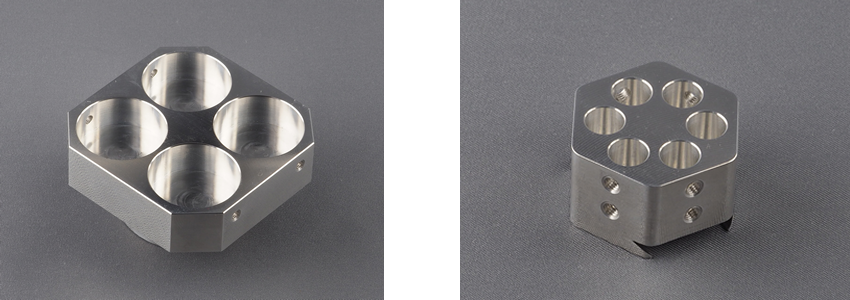
5. Sample Sticks, Adhesives, and Mounting Methods
Sample posts or holders are available in different diameters to facilitate the imaging of different types of samples. Make sure the stub is clean and handle the sample with clean tweezers.
Also, use gloves throughout the sample preparation phase. The adhesive material used to bond the sample to the stub should be non-toxic and should not fall off the sides of the sample.
Conductive double-sided carbon tape is the most common sample mounting adhesive. You need to make sure there is a conductive path when mounting the sample.
This is because, to generate a photomicrograph, the electrons need to travel through the sample and mounting equipment (the entire setup is grounded).
Therefore, if a sample requires a conductive coating, be sure to mount it prior to coating so that both the sample and the plug receive the coating.
6. Sample storage
Store samples and stubs in a dry, clean environment.