In the process of scientific research, we will use various microscopes (such as fluorescence microscopes, electron microscopes, etc.). When we take pictures with a microscope, we usually use the camera software that comes with the microscope and add a scale bar. But when we display the results, we often need to crop and layout the photos, and the ruler in the lower right corner of the photos is often cropped.
So, how to add rulers to photos when arranging them?
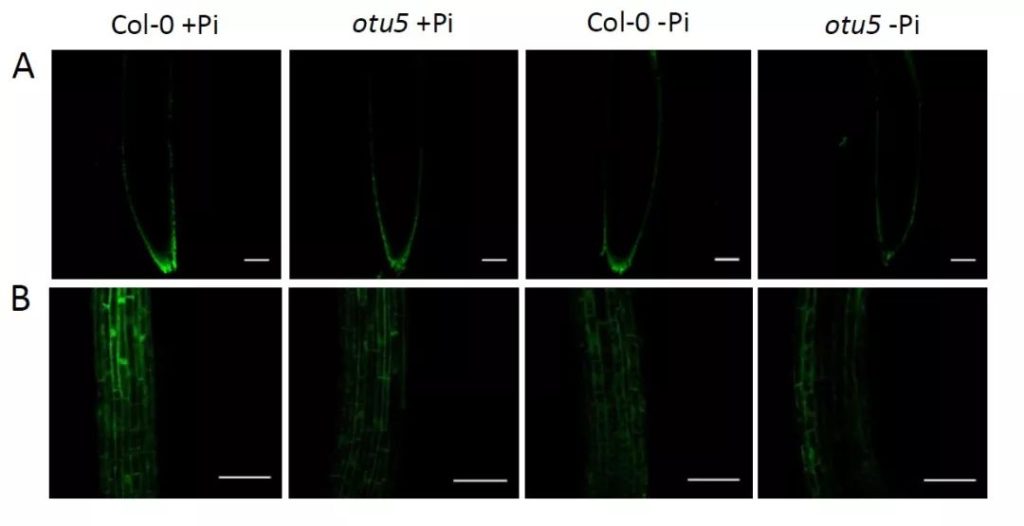
The goal is this:
(PNAS, 2014)
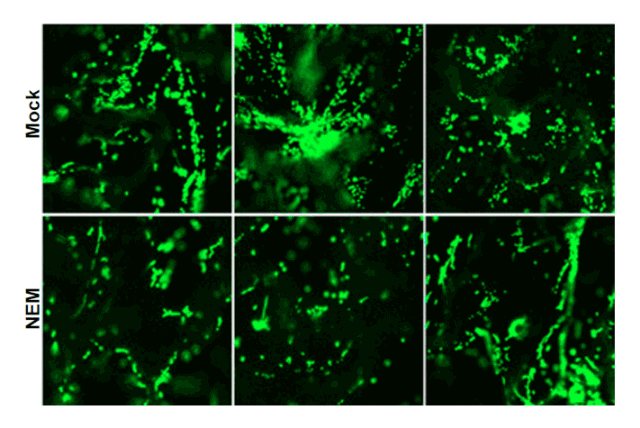
Or something like this:
(PP, 2018)
Let’s use the three pictures above as a demonstration to see how to use Adobe Photoshop (Ps) to add rulers to photos.
How to add scales to microscope photos manually?
- First, load files into the stack through File/Script/. In the pop-up file selection window, click the Browse File button to stack all pictures into different layers on the same canvas.
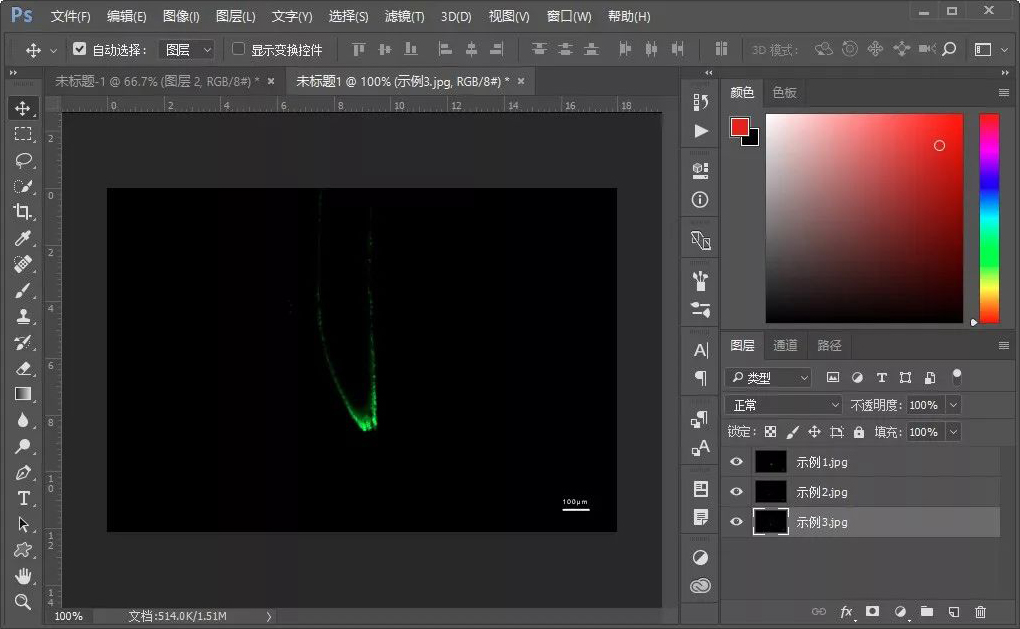
Click the Rectangle Tool, and set the fill color to white and the stroke color to none.

Move the mouse pointer to the ruler in the lower right corner of the picture, hold down the alt key, and roll the middle mouse wheel forward to zoom in on the area (you can also use the zoom tool or ctrl + “+”/”-” to zoom in on the picture area). To make the drawn ruler very precise, here the field of view is enlarged to 1200%, and even individual square pixels can be seen, as shown below.
- Then draw the rectangle so that its width is the same as the ruler on the photo.
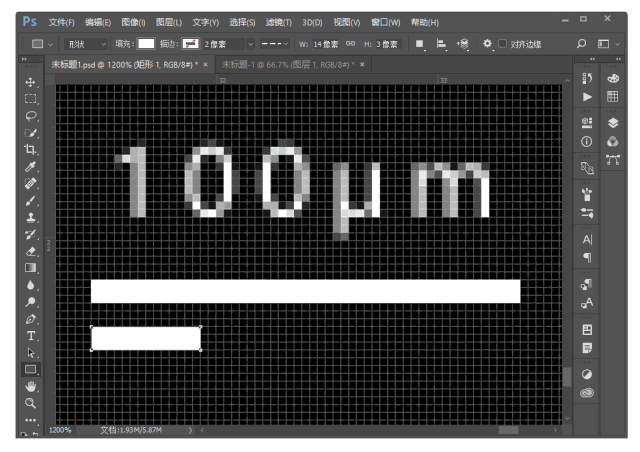
In this way, the ruler of a picture is drawn. Of course, you can also use the text tool (shortcut key: T) to add numbers and letters above the rectangle, which will not be demonstrated here. After narrowing the field of view (the shortcut key is the same as above), use the move tool (shortcut key: V) to move the newly drawn “ruler” to an area where the image will not be cropped.
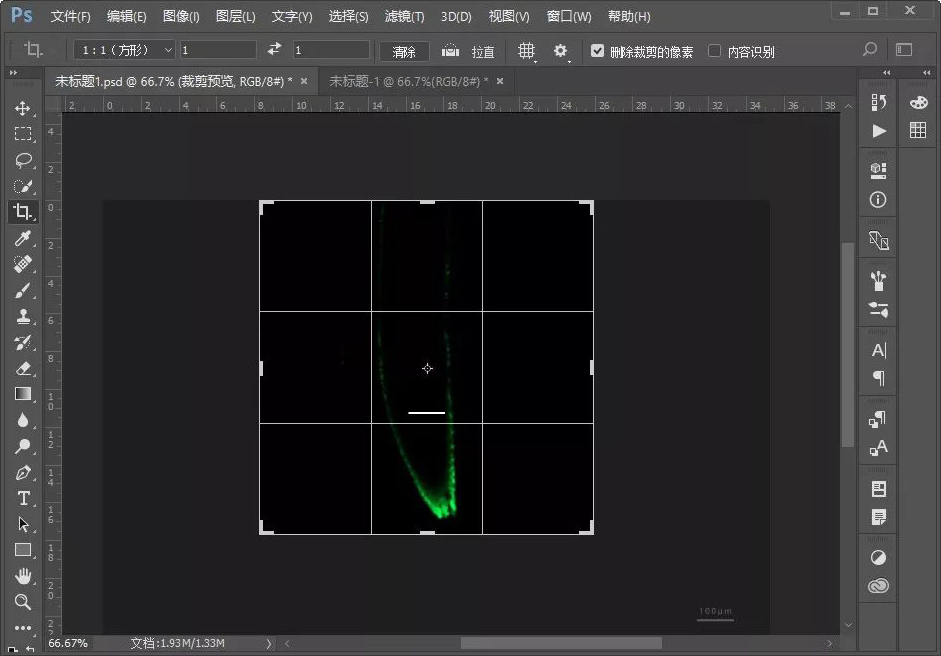
Use the crop tool (shortcut key: C) to cut the photo into a square (the ratio is set to 1:1), as shown below.
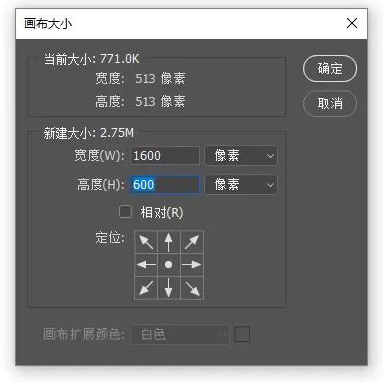
Then use the image/canvas size to adjust the width of the background canvas to more than 3 times the image, and increase the height appropriately.
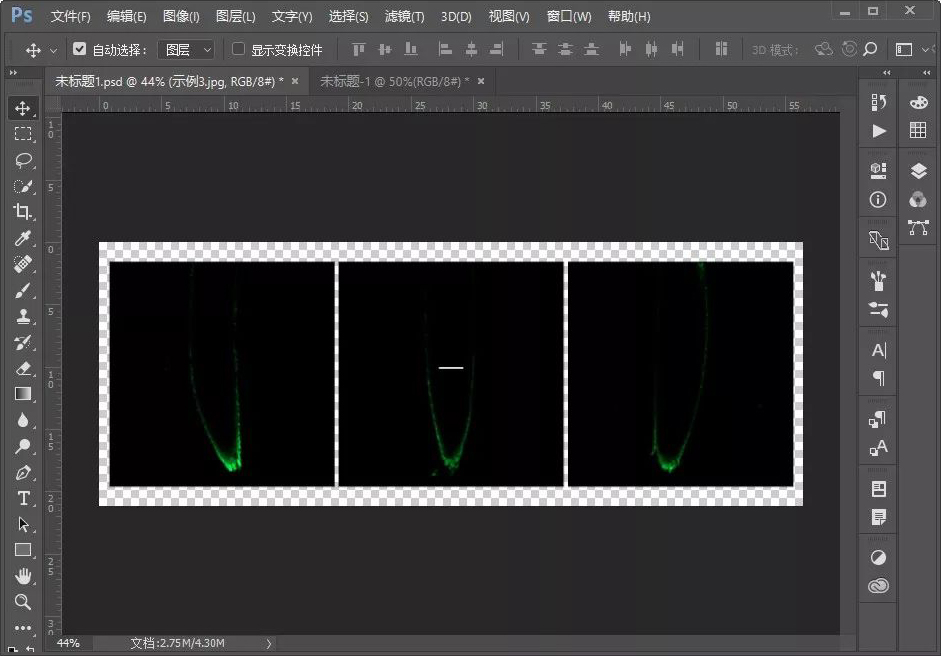
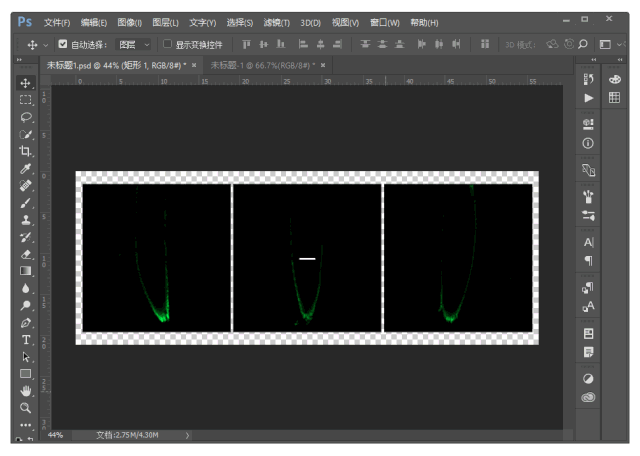
Use the Move Tool to arrange the three photos as shown below.
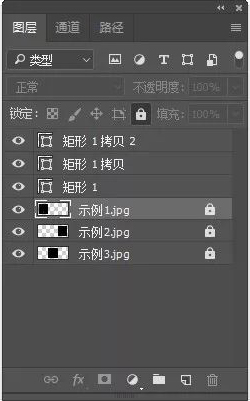
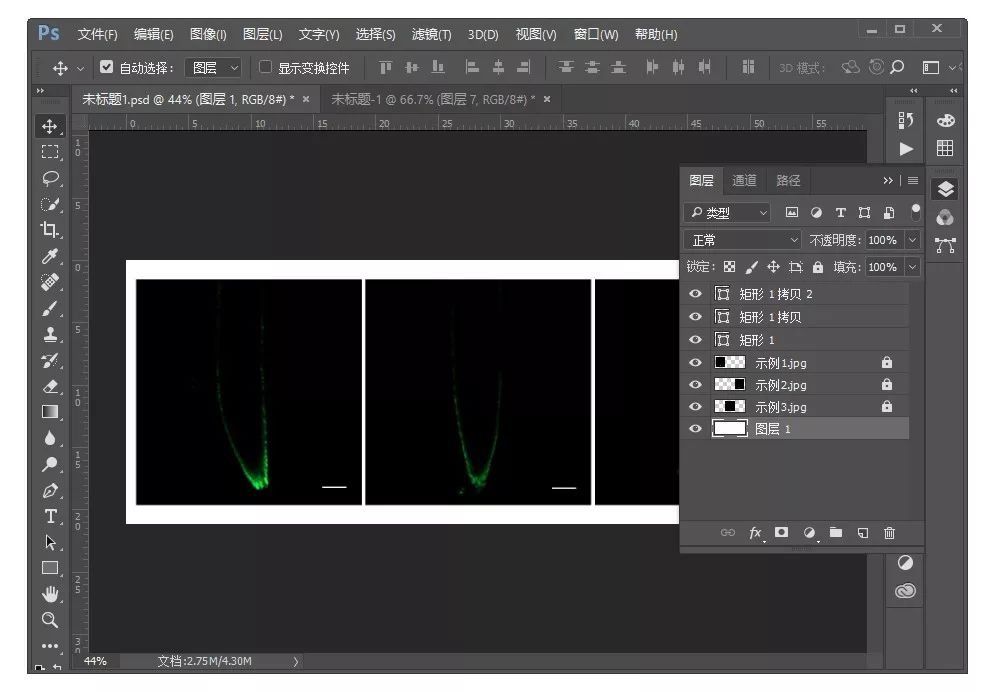
- Next, right-click the rectangle layer, click Duplicate Layer, and then copy 2 “rulers”.
tips:
If your photos were taken under a microscope with different magnifications, you will need to redraw the ruler for each photo, using the same method as above. The photos in this article were taken at the same magnification, just make three copies of the rectangle layer.
- Then, lock the lower 3 photo layers, as shown below.
- After that, move the “Ruler” to the lower right corner of each photo, as shown below.
- Finally, create a new layer (the second button from the bottom of the layer panel) and drag it to the bottom layer, fill it (shortcut key: alt+delete to fill the foreground color) with white, the effect is as shown below, and finally, save it in the required format through File/Save As Pictures are enough.
Of course, this is just one of the methods. If you switch to Ai or PPT, the approach will be similar. PS can also directly draw the selection. Use ctri+J to copy the ruler area and then move it to the appropriate position. By changing the layer fusion method, the ruler can be perfectly moved to the appropriate position.